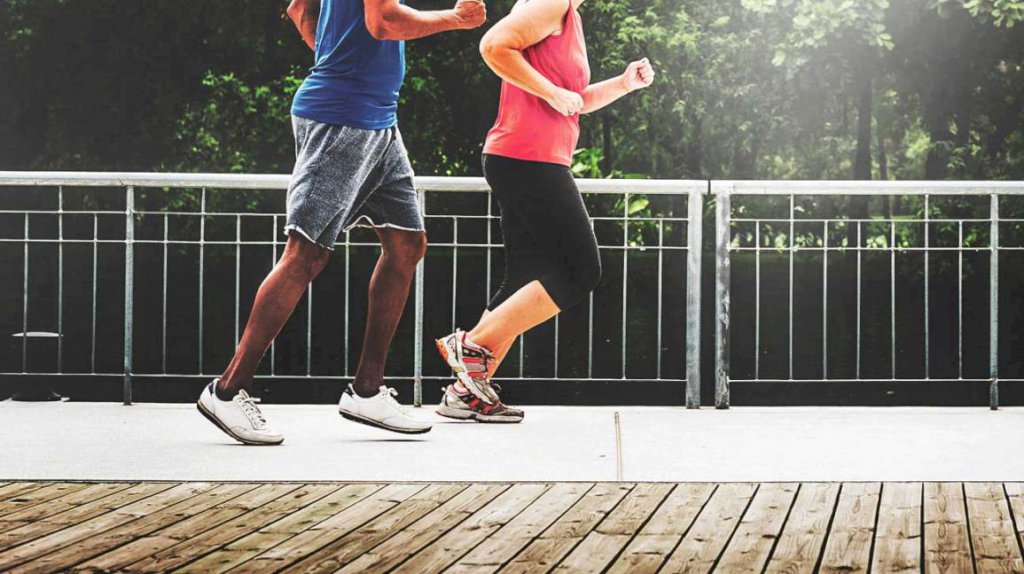
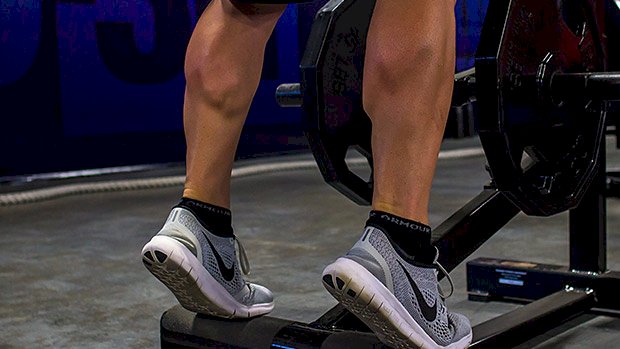
 Even experienced lifters struggle to build their lower legs, but it IS possible to develop them. You’re already familiar with basic straight-knee calf work, like the standing calf raise. And you’re also well aware of bent-leg, seated calf raises. That’s a good start. There’s a reason to do both types: Your calves are made of the gastrocnemius complex and the soleus. Research shows that doing calf raises (ankle plantar flexion) with a straight-knee creates superior gastrocnemius muscle activity, while doing these raises with a bent-knee creates superior soleus muscle activity (1,2,3,4). So it makes sense to do at least one calf exercise in each knee position to maximize your training time and efficiency. But are you stuck in a rut doing the same two lifts over and over again? Most are. Luckily, there are other great calf exercises in both categories that you can add to your arsenal. Get more out of your lower leg work by picking at least one calf exercise from the straight-knee category and one from the bent-knee category. Two Straight-Knee Calf Exercises These two exercises require you to perform a heel raise in a manner that involves propelling yourself forward as well as upwards on each step. The plantar flexion action is more similar to that of walking and running. Dumbbell One-Leg Leaning Calf Raise Stand facing a wall with your feet hip-width apart while holding a dumbbell in your left hand. Place your right hand on the wall at roughly chest height and lean your body forward while keeping your torso, hips, and knees all in a straight line. Bend your right knee and step your left leg backward, placing it as far behind you as possible with keeping your heel on the ground and your left foot pointed at the wall. Your left knee, hip, and torso should all form a straight line. Lift your right foot off the floor while keeping your right knee bent at around a 90-degree angle. While maintaining your body position, lift your left heel as high as you can off of the floor so that you end up on the ball of your foot. Slowly lower yourself until your heel touches the floor to complete the rep. Don’t allow your left foot to rotate outwards at any point. Keep it straight and pointed at the wall throughout. Don’t bounce. Control the lowering (eccentric) portion of each rep by allowing your heel to touch the floor gently – not to fully rest on the floor – until all reps have been completed. Do all the reps on the same side before switching sides. Dumbbell Walking Calf Raise This simply combines a dumbbell farmer’s walk with a calf raise. Stand at one end of the room and hold two heavy dumbbells, palms facing your body by your hips. Walk to the other end of the room. On each step, as soon as your foot hits the ground, quickly lift your heels as high as you can off the floor, ending up on the balls of your feet. Lower yourself down after each step with control until your heel touches the floor to complete the rep. Do the heel raise in a smooth and coordinated action with each step. Two Bent-Knee Calf Exercises It’s important to notice that both of these involve positioning your working side foot closer to you. This increases the range of motion demand, making it more productive. Half-Kneeling Dumbbell Calf Raise Using a mat or rolled towel for comfort. Get in a half-kneeling position with your torso straight and both knees bent 90 degrees. Move your front foot backwards underneath your same-side thigh as far as you can while keeping your heel on the floor and your foot straight. Place the side of a dumbbell, or the bottom of a kettlebell, on top of the knee (not on top of your mid-thigh) of the same foot you just moved toward you. Push your toes into the ground and lift your heel as high as you can off the floor, ending up on the ball of your foot. Slowly lower your heel until it touches the floor to complete the rep. Don’t bounce. Control the lowering portion by allowing your heel to touch the floor gently. Do all the reps on the same side before switching sides. Seated Dumbbell Calf Raise Sit tall on a bench with your feet roughly hip-width apart. Move one of your feet backward underneath your same-side thigh as far as you can while keeping your heel on the floor and your foot straight. Place one side of the dumbbell, or the bottom of a kettlebell, on top of the knee. Push your toes into the ground and lift your heel as high as you can, ending up on the ball of your foot. Slowly lower your heel until it touches the floor to complete the rep. As always, no bouncing.
Origin: 4 Calf Exercises You’ve Never Tried
Tag: You’ve
4 Reasons You’ve Got No Rear Delts
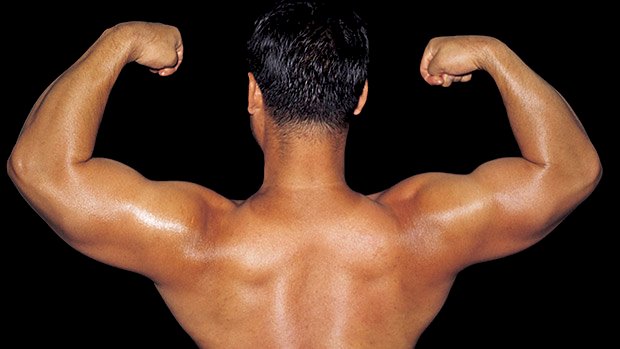 The deltoids are an easy muscle to hit… unless you’re talking about the rear deltoids. Targeting this muscle group takes more than doing standard dumbbell reverse flyes. Here’s what you need to know and do: 1 – You’re Going Too Heavy I cringe when someone does sets of 50-pound dumbbell reverse flyes, or buries their face into a pec dec hybrid machine to perform horribly executed reverse flyes with the stack. There’s a reason your rear delts are underdeveloped and weak – it’s because you’re using too much weight to get the job done and other muscle groups are actually completing the rep. Since the rear delts aren’t easy to hit, we need to respect that it won’t take much weight to hit them hard. It can, of course, be argued that delt-recruiting exercises like high pulls or cleans can be performed with heavy weight, but the amount of work that’s actually done by the upper traps and other back musculature is high. 2 – Your Hand Position is Wrong So much of our rear deltoid training is dedicated to arm abduction, but it neglects rotation. Doing bent-over flyes is all fine and dandy, but it only tackles one function of the rear delts. What you need to do instead is turn your hands so the palms face forward. You get a much fuller, much more targeted contraction. As a bonus, turning the wrists so the palms face forward on the bent-over reverse fly also helps prevent the shoulder glide that can be incurred from using a neutral or internally rotated grip. The same holds true for the face pull. Incorporating an external rotation so the hands finish higher up, over the head, can be a game-changer for just how much you feel it in the target muscles. If you’re big and wide with long arms, then using two ropes is better than one. To take things to the next level, adding a “slide” component to a face pull (like a resisted scapular slide) makes the delts responsible for external rotation from a variety of arm angles through the force curve. This is a great progression to standard wall slides. 3 – You Need to Add Isometrics The good thing about isometrics? You’re able to apply maximal forces in ranges where typical reps of an exercise merely pass through. That means a lifter will typically spend just an instant at full shoulder extension or flexion, with the meat of the rep being felt at basically every other arm angle but those positions. Working the snot out of shoulders at full flexion and extension end ranges with isometrics can not only be the hidden key to creating more available range of motion for immobile, injury-prone shoulders, but also to help develop dormant muscle groups like the rear delts, which otherwise get little to no play in exercises intended for them. Using isometrics as a primer to common exercises – or as their own exercise to be paired or grouped with others – is a great way to get the most out of your muscles through the greatest range possible. This video shows me putting T Nation editor Dani Shugart through a few of these rear deltoid and upper back isometrics. 4 – You’re Doing Same Motion Over and Over Again Every rear delt movement I see has the lifter start with his hands and arms in line with his body, then proceeding to move them outward (think of the rear delt flyes I showed above). There’s nothing wrong with this, other than the fact that solely focusing on this kind of path severely limits how much of your muscle you’re going to hit. To change things up, try setting up on a cable machine for constant tension: This is a very isolated pattern that, when done correctly, absolutely torches the rear delts. It’s important to maintain the same elbow angle throughout the entire range of motion. This isn’t a triceps exercise; the fulcrum is the shoulder. Pull the arm all the way across the body as though you’re trying to cover your mouth with your biceps. Then aim down toward your outside shoe with your fist. It’ll take a few reps to initially feel, but once you’re rolling, you’ll get an insane pump in the target
Origin: 4 Reasons You’ve Got No Rear Delts
Tip: You’ve Gotta Try This New Leg Exercise
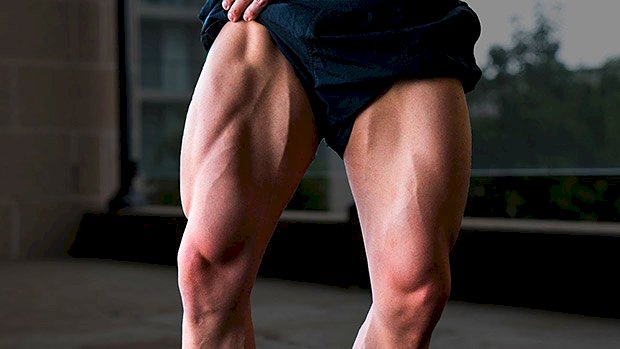 Ordinary hack squats can be hit or a miss for some lifters. In my case, after a double knee surgery, they’re a huge miss. Enter landmine hack squats, where the foot-angle alone makes a world of difference for gimpy-kneed lifters. Landmine Hack Squat Instead of having to endure the compressive forces imposed by having your feet on a platform that’s exactly perpendicular to the direction of force (as you do with any conventional hack squat), the landmine hack gives the ankles a more open angle, and that means happier knees. This creates a feeling similar to squatting with a Smith machine, without the confines of a completely fixed path. Having the weight on a fulcrum also allows you to make minor lateral adjustments to find the perfect groove. Turning around allows you to find the perfect “lean” (and right foot position) to get a great pump. How to Do It Place the bar on your upper traps and hold it steady with the other hand. It doesn’t matter what shoulder you use, but it never hurts to switch to the other side between sets. Remember to fully lean against the plates themselves, so much so that if they weren’t actually there, you’d fall backwards on your butt. It’s a trust game. Sorry. To place more emphasis on getting a brutal quad pump, get deep and don’t come all the way up – it’ll amplify the time under tension and you’ll feel the burn. Focus on sets of 15-20. A few sets of this serves as a terrific finisher on leg day, but you can also add them into a superset or compound
Origin: Tip: You’ve Gotta Try This New Leg Exercise
Tip: The Back Finisher You’ve Never Tried
 It’s always a good idea to start your back workouts with the big, basic exercises (rows, chin-ups, pull-ups, lat pulldowns, etc.) and chase rep and/or weight personal records. So, what could your back workouts be missing? Metabolic stress. There are lots of ways to get it in, so try leveling up your lat game with this finisher. All you’ll need is one set. 12 Reps, 3 Exercises, 1 Long Hold If you have access to a dual-adjustable pulley or freedom-type trainer, give this one a shot. You’re going to hold the reps constant from exercise to exercise while also adding a bit of weight at each transition. Do the following: Straight-Arm Pulldown:12 reps (use about a 15-rep estimated max weight) Split Stance High Row:12 reps (add a plate beyond what you used in the first exercise) Half-Kneeling Lat Pulldown:12-plus reps (add a plate beyond what you used in the second exercise) Half-Kneeling Lat Pulldown ISO Hold:max time Take about 10 seconds or so to transition between exercises, recover just a bit and change the weight, with the exception of the last exercise where you’ll take 20 seconds to recover from the previous movement. Try
Origin: Tip: The Back Finisher You’ve Never Tried
Tip: The Push-Up Variation You’ve Never Tried
 The Staggered Push-Up Usually, all regular bilateral strength exercises are performed symmetrically. In most sports, symmetrical actions and positions seldom happen, especially in contact sports. So you set yourself up for weakness if you only train symmetrical exercises in the gym. There’s no need to go all “sport specific” and perform all kinds of circus acts, but SOME exercises should aim to prepare your body for non-symmetrical impact. For the upper body you can do this with staggered push-ups. Just get into your regular push-up-position, but with one hand placed higher than usual (toward the head) and the other hand placed lower than usual (towards the hip). Staggered push-ups are a great exercise for improved shoulder stability, athletic preparation and performance. Give it a
Origin: Tip: The Push-Up Variation You’ve Never Tried
Tip: 4 Lat-Building Exercises You’ve Never Tried
 Slap some muscle on your back with these innovative moves. Do 3-4 sets of 10-15 reps on each of these. X-Stretch Lateral Lat Pulldown Do you have trouble feeling your lats work? Here’s a surefire way to get them activated, pumped, and ready for gains. What to do Set up a high cable, grab the handle and sit sideways on the ground with your working side closest to it. Using an underhand grip, focus on the negative part of the exercise – the stretch of the lats – by leaning sideways towards the cable machine. Squeeze the lats and sit upright as you pull it back toward you. Palpate (touch) your lat with your non-working hand to help you feel it in the right place. Tip: Remember to keep your chest up throughout the movement. Angled Single-Arm Pulldown You might already do a chest-supported row in your workouts, but what about a chest-supported pulldown? This will put you in a totally different angle than any regular pulldown and hit your lats in a whole new way. What to do Set the handle high on a cable machine. Get an incline bench set up in front of it. Position yourself in a way that allows you to fully stretch your lats when leaning forward and extending your arm overhead, then push your shoulder blade back and down all while creating tension in the lats. Brace your core by hugging the bench with your non-working arm. Don’t allow the shoulder to roll forward (humeral glide). Tip: Squeeze your adductors (inner thighs) together to maintain stability throughout your body. Alternating Side-Dominant Lat Pulldown Take your standard lat pulldown, but emphasize one side per rep for an even stronger contraction. What to do Using an overhand grip, initiate the pull from the shoulder blade – pushing it down and back towards your back pocket. Keep your elbows stacked under your wrists. Keeping your upper back extended and chest up, pull harder with one side, concentrating on feeling your lat contracting on that side. While you focus on one side, allow the opposite side to assist in the movement. Tip: Don’t allow your torso to lean sideways as you perform the movement. Unilateral Chest Supported Row You already know how to do a one-arm row. This variation will help you get an even stronger mind-muscle connection with your working lat. What to do Set up an incline bench to support your torso, about 30 degrees. Anchor your arm to one dumbbell by pushing away from it to create stability throughout your body. Row with the opposite arm and rotate it from neutral to underhand grip. Tip: Squeeze your inner thighs together on the bench to create tension throughout your body.
Origin: Tip: 4 Lat-Building Exercises You’ve Never Tried