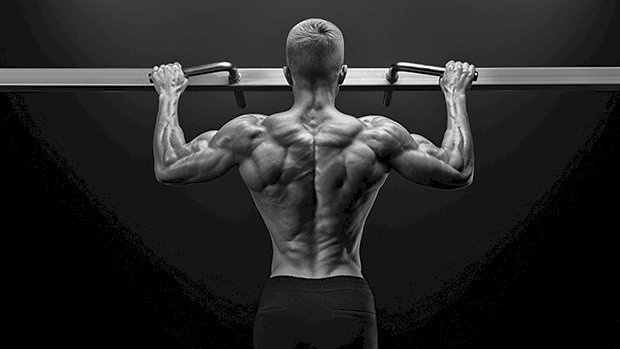
 More than 30 years ago, my PE class tested everyone on pull-ups. I did two full reps at a bodyweight of 120 pounds – not exactly top of the class. My friend Dave didn’t fare much better. We decided we’d had enough humiliation and went on a pull-up rampage. A few months later I could do 14 reps and I was the third best in school. Dave was the second best and could do 17 reps. How did we train it? We chose the only way we knew – doing them every day. Greasing the groove and fine-tuning the nervous system works well for upping the reps in pull-ups, but we didn’t know anything about that. We just did it every day because we thought that was the best way to get better. We actually weren’t that far off! Frequency and Mixed Loading I’ve competed in powerlifting and bench press competitions for more than two decades. As such, the “big three” have been my main focus, but pull-ups have stayed with me as one of the main upper-body assistance exercises. Now I can do one with nearly double my bodyweight. Pull-ups are worth doing several times weekly, but not just with bodyweight – and therein lies the secret. Most people focus on improving the number of reps they’re able to do, but they should be concentrating on beefing up their pull-up 1RMs. This will actually increase your ability to perform more bodyweight reps. Here’s a program that will take you there. It still involves doing a lot of high-frequency training with bodyweight pull-ups, but the magic lies in the medium-frequency days that use pull-ups plus added weight. The Program To succeed, you should already be able to do at least several strict bodyweight pull-ups, which means you’re strong enough for added weight attached. Once you’ve checked that box, you’ll be alternating between two workouts: High-Frequency Training – Pull-ups using only bodyweight: 5 x weekly (weeks 1, 2, 5 and 6). Medium-Frequency Training – Pull-ups with added weight: 2 x weekly (weeks 3 and 4). Do bodyweight reps for the first two weeks. Week 3 and 4 will involve doing pull-ups with plates attached to your belt. You’ll then go back to bodyweight reps for weeks 5 and 6. Rotating between bodyweight and weighted pull-ups will give you the best of both worlds. The slightly lighter training and faster reps in weeks 1 and 2 will build power and set you up for the heavier, low-rep strength training in weeks 3 and 4. The lighter weeks will also give you time to recuperate from the heavier loads, but at the same time upgrade your technique and pulling power. As with any specialization program, when you do more of something, you should do less of something else for the rest of your body. Doing too much might halt your progress. Focus on a select few key exercises and your strength progress will likely be better. Start out by testing your 1RM (bodyweight + weights attached). Once you’ve determined that, start the program: Week 1 Days 1-5 – 2×5 reps Week 2 Days 1-5 – 3×5 reps Week 3 and 4 Day 1 – 2×5 reps (warm-up), then 3×2 reps with added weight. Use approximately 85-90% of 1RM. Day 2 – 2×5 reps (warm-up), then 3×2 reps with added weight. Use approximately 80-85% of 1RM. Week 5 Days 1-5 – 2×5 reps Week 6 Days 1-5 – 3×5 reps Week 7 Test your 1RM Remember, when you do pull-ups, pull with speed and force without getting sloppy. Stay tight, pressurize your abs, and pull like you mean it. The eccentric or lowering phase should be controlled. Not sloppy fast, not slow. Once you’ve tested your new 1RM in week 7, start over again while adjusting your poundages based on your new 1RM. Reasons to Do Pull-Ups in the First Place The pulling work aids in balancing out all the pressing work you probably do. The lats are also a very important core-stabilizing muscle group. Strong lats will benefit your bench press and give you a solid platform to press from. Strengthening your lats will assist in stabilizing the bar on your shoulders in a heavy squat and will contribute tightness in order to maintain proper upper-body stability in the
Origin: Tip: End Pull-Up Humiliation
Tag: Pull-Up
Tip: How to Get Your Very First Pull-Up
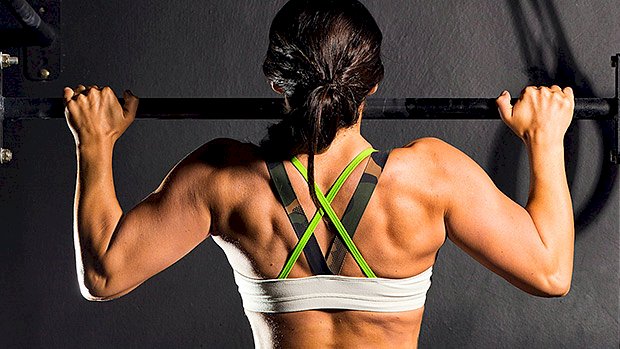 I remember how frustrating getting my first pull-up was. There were times just spent looking up at the bar and wondering why I simply wasn’t moving. The best way I found to finally get my chin over the bar was a combination of similar but easier movements, combined with variations which took away a lot of my bodyweight. Let’s break each of those exercises down: Australian Pull-Ups This is a horizontal row which gets you used to pulling your bodyweight. With your feet on the floor you can easily adjust the assistance you give yourself. The more horizontal you are and the further away your feet are from your hands, the harder it is. The horizontal position should make it a bit easier for you to engage your lats. Try to keep your body straight and not bend at the hip as you pull. Negative Pull-Up This uses the full range of motion of the pull-up, but in reverse! It’s no secret that the eccentric (negative) part of any movement builds a lot of strength, and pull-ups are no different. Learning to control that entire range on the way down will carry over to when you’re going back up. If you jump up and immediately start to fall, build yourself up to a comfortable 10-second hold with your chin over the bar (the “top” of the rep) before you start doing the negative. Low-Bar Pull-Up Like the Australian pull-up, you can adjust how much of your bodyweight you remove by assisting yourself with the feet. Ideally you want to be on the tiptoes or the backs of your toes rather than the ball of your foot, encouraging you to use as little assistance as possible. This is where your technique starts to come into play and you need to focus on engaging your lats for the pull, not using the biceps which is a common beginner mistake. (See A Quick Fix For Better Lats for more info.) Think about pressing into the bar from your lats or “bending the bar.” Play around until you can feel your lats working. Banded Pull-Up These often get a bad rap because when the band is at full extension it will give you the most assistance. This means you get the most help at the bottom of the rep which reduces the need for you to learn how to initiate the pull with your lats. However, they’re great for volume. You just need to be disciplined. Be hard on yourself and only use a band which will allow your 5 reps to be doable, but not easy. Even if you start to only get 3 or 4 reps on your last set, it’s better to push yourself here than simply be bouncing up and down on a band – that will get you nowhere. Eventually you want to be doing these with a very thin band. Once you’re getting close, attempt a rep or two without a band. You might just surprise yourself. The program is simple and organizes the movements into two quick sessions that you can easily fit into your gym schedule: Session 1 Australian Pull-Up:3×10 Negative Pull-Up:5×3 Session 2 Low-Bar Pull-Up:5×5 Banded Pull-Up:5×5 Adjust the assistance of each exercise to reduce your bodyweight so that you can complete all the reps. Your aim over time isn’t necessarily to increase the reps or sets that you do, but instead to improve the movement itself and slowly adding in more of your own weight. For example, you’d aim to get more horizontal on the Australian pull-up, go slower on your negative, use less assistance from your feet on the low-bar pull-up, and use a thinner band on your banded pull-up. Consistency is key. Bodyweight training can be tedious, but the rewards are very satisfying. Pull-ups teach you how to properly engage your lats and give you a ton of shoulder stability for any overhead
Origin: Tip: How to Get Your Very First Pull-Up
Tip: Master the Pendulum Pull-Up
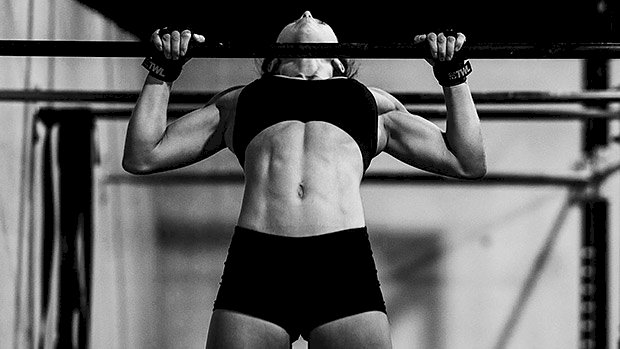 Pull-ups are great, but many people feel the tension in their arms more than their upper backs. This is suboptimal for back strength and hypertrophy… especially since the pull-up is primarily supposed to be a back exercise. To fix this, just take it through a full range of motion. “But wait, isn’t the pull-up already a full-ROM exercise?” Unfortunately, it’s not. In a typical pull-up, your spine remains relatively neutral. This doesn’t allow the muscles of the upper back to go through their full contractile range of motion. The Solution That’s where the pendulum pull-up comes in. With this variation, you’ll extend and flex your spine at different portions of the rep. Take a look: At the top of the rep, extend your spine and curl your legs up. This allows your shoulders to externally rotate and your shoulder blades to pull tightly down while your chest sticks up. This will fully shorten your upper back musculature. Then, as you lower your body, unbend your legs, round your spine, and hang in a hollow body position at the bottom of the rep. This allows your shoulder blades to fully rotate upwards and lengthen the lats, giving them a nice loaded stretch, which has been shown to increase hypertrophy (1). The flexing and extending of the spine will take the key muscles through their true contractile range of motion. You can do it this way with any grip you like. Don’t Cheat, Bro Be careful though. The line of pull is still very strict. The leg curling is only to maximize muscle contraction. It’s not supposed to help you swing for momentum. If you struggle with staying strict on normal pull-ups, these are probably too advanced for you. If you’re a pull-up stud, give these a
Origin: Tip: Master the Pendulum Pull-Up
Tip: Take the Hang Pull-Up Test
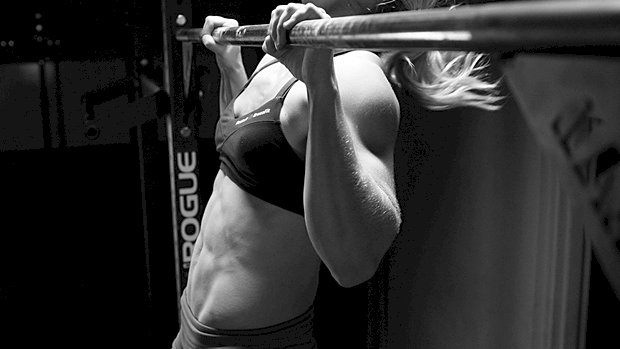
 Every lifter should be able to hang from a pull-up bar for 30 seconds. If you can’t then you need to work on grip strength… and maybe lose some of that useless dead weight. (That would be fat). Aside from grip strength, the hanging test might highlight some shoulder and spinal issues. Can you do that easily? Good. Now try this: Hang from the bar for thirty seconds. When the timer rings, do a pull-up. If you can do that, you’re not too bad. Now let’s ramp it up. Without letting go, drop back down and hang for another thirty seconds and do a second pull-up. For the true crazies, let’s see who can do 10 of these 30-second hang pull-ups. Few can “hang” for over five minutes. Can
Origin: Tip: Take the Hang Pull-Up Test
Tip: Increase Pull-Up Power With This Simple Plan
 Mini-Sets for Maximum Gains Suck at pull-ups? You need to work them with frequent training. Start every workout with a total of 20 pull-ups done in as little time as possible using “mini-sets” of half your current max effort. Use a clock to track how long it takes and try to beat that time each session. The best strategy is to NOT hit failure on any of the mini-sets since it would require too much rest between sets and thus would take longer to complete. Here’s How It Looks Let’s say your current max is 4 or 5 pull-ups. Start with mini-sets of 2, resting as little as possible between each set – about 20 seconds rest is plenty. When doing the second rep becomes a grind, extend the rest to 30 seconds. When the second rep becomes tough again even with the longer rest, move down to doing sets of 1 with 15-20 seconds of rest until you hit your total (20 reps) for the day. As you get stronger, you’ll be able to use more than two reps for your mini-sets, but be very gradual about increasing them. Monitor the time it takes you to complete 20 reps to gauge if your strategy is adequate. When you increase the reps per set, your total time should continue decreasing. Ideally, in 8 to 10 weeks you’d end up hitting the 20 reps in just two sets of 10 with about 20 seconds of rest. When that happens, you’ll likely be able to hit 15 good pull-ups in a row. Progression Method: 30 Total Reps, Then Add Weight Once you can complete 20 total reps in just two mini-sets with no more than 30 seconds rest, increase the target total to 30 reps and resume the progression. Eventually, when you can hit the 30 reps in just two sets with less than 20 seconds of rest, go back down to 20 total reps, but here’s the killer… add 15 pounds to your waist and resume the progression all over
Origin: Tip: Increase Pull-Up Power With This Simple Plan
