 You’re probably sedentary. Yes, you. Sure, you hit the gym often, but your joints remain relatively idle as you sit at work, sit in your car, and sit in front of the TV. Swinging your arms between bench press sets isn’t enough to keep your joints healthy and mobile for a lifetime. Can’t scratch your mid-back anymore? Your mobility has slipped. Here’s why mobility matters: Poor neck and thoracic mobility is a strong predictor of neck and shoulder pain (1). Increasing thoracic spine mobility improves forward head posture even when compared to direct neck exercises (2). Improving ankle mobility reduces knee and hip pain, enhances squat depth, improves squat mechanics, and prevents injuries (3). Improving hip mobility increases muscle strength because your nervous system inhibits force when it senses a lack of mobility (4). Improving mobility doesn’t have to be inconvenient. No need to spend an hour aligning your fairytale chakras in some yoga class taught by a hippie. Here are a few exercises you can do quickly to target the most important areas for lifters: 1. T-Spine Mobility You can do these drills literally anywhere: Kneeling T-Spine Rotation and Lateral Flexion Kneel down and place your fingers around your ears. Focus on keeping your hips facing forward. Rotate your chest/thoracic spine one direction. Slowly flex your spine laterally. Once no more range of motion can be achieved, come back to the starting position. Repeat on the other side. Dynamic Wall T-Spine Extension Place your hands fairly high and wide against a wall, window ledge, or Smith machine. Push your hips back as you lower your chest. Take a deep breath at the bottom as you feel the different segments of your spine arch. Flex your spine as you round your back. 2. Shoulder Mobility This is my favorite shoulder mobility drill. It also stretches the pecs while not allowing the spine to compensate. Dowel Dislocate on Incline Bench Lean against an incline bench while standing while holding a dowel or broomstick across your hips. Slowly move the dowel overhead, going as far back as possible while keeping your elbows relatively straight. Hold wider on the dowel if it’s too difficult and adjust narrower if it’s too easy. 3. Hip Mobility These hip mobility drills won’t leave any stones unturned. Hip Mobility Complex Take a seated position. Start with a hamstring stretch with one leg on your thigh, then transition to a “hugging pigeon.” Bring your hands back and go into both internal and external hip rotation. I also like to rotate my spine before coming back to the starting position. Repeat on the other side. Tactical Frog Get your legs into a frog position and your arms into a plank position. Thrust back and forth as you feel your adductors stretch. Drown out any thoughts of bystanders potentially judging you for humping the floor. 4. Ankle Mobility Both of these are wildly effective: Tripod Ankle/Calf Mobility Get into a tripod position with one foot stacked on the other foot’s heel. Drive your heel back as you stretch your calf, then bend your knee and maintain a dorsiflexed position. Repeat for reps before repeating on the other side. Stepback Weighted Ankle Mobility This exercise is harder than it looks, but it’s the best ankle mobility drill I’ve found. Grab some weights. Take one step back and keep both feet flat. Bend the knee of the back foot while hip hinging the weights down. You should feel your back ankle mobilizing. Repeat for reps on both sides. Programming These exercises can be done in a sequence for 3-10 minutes a day depending on your current mobility. The sequence can be sprinkled in during your warm-up, cooldown, or even between
Origin: Tip: The 10-Minute Mobility Sequence for Lifters
Tag: Mobility
Tip: Inside-Out Shoulder Strength and Mobility
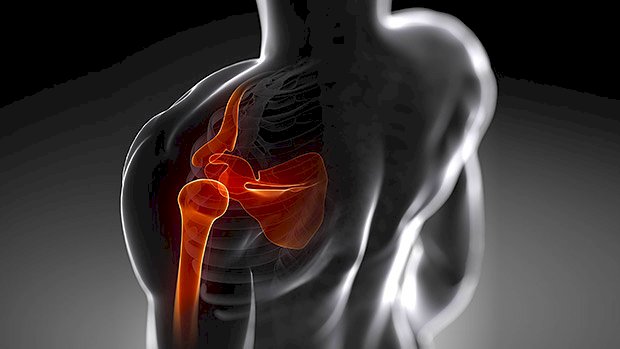 I coach CrossFit. I know, I know, I’m sorry. It was an accident. But I kinda have a problem: I like motivated people that enjoy lifting and high-skill bodyweight movements. And there’s something to be learned from this crazy “functional” stuff. Like, how can they do 20 muscle-ups followed by 30 clean encrypted-media” allowfullscreen> Let’s break each part down: Passive-Active Hang Think about pulling your shoulder blades down as much as you can to engage all your back muscles. You can either hold for 5 sets of 10 seconds or perform 5 to 10 reps with no pause. Try both and see if you fatigue easily. This is a basic shoulder movement and ideally you should feel like you could do it all day. Hanging Shoulder Rotation All the movement has to come from the shoulder and not the elbow… or weird bobbing movements from your neck. We’re looking for good shoulder mobility here, not head gestures that would accompany a naughty innuendo. Many people struggle with rotations and it can feel unnatural at first, but it really shouldn’t. If it helps, try lifting your arms overhead and rotating your shoulders without holding on to a bar. This way you’re not having to lift your bodyweight so you can get a better feeling for the movement. Then, try it on the bar with your toes on the floor for assistance and build up to fully hanging rotations. Think like a monkey in a tree. You have to be able to have that control to navigate from branch to branch; otherwise you’re just swinging and yanking your shoulder out of its socket every time. Yes, CrossFitters may look like a floppy fish when doing butterfly pull-ups, but there’s actually a lot of coordination, control, and strength that goes into them. Butterfly pull-ups without the prerequisite control are a quick way to a dislocated shoulder or torn rotator cuff. Even if you never have any intention of flopping about on a pull-up bar, this control and strength is important to your general shoulder health. Single-Arm Hang It’s incredibly important to be able to hold yourself from one arm and still be able to engage the lat, provided you’re not a heavyweight powerlifter. A great strength test is to see how each arm matches up to the other. If one arm has tremendous endurance and the other slips after a few seconds, which arm you will favor in pull-ups and presses? Working on this will even help bring balance to your shoulders. Single-Arm Rotation Last in the video, we show you a demonstration of a full rotation from a supinated grip to a pronated grip. When I demo this at workshops, it’s amusing how many people freak out. But this is nothing compared to what you’d see in a gymnastics training camp! Despite the common reaction, this is simply a normal range of motion for the shoulder. We demo it in the video because I want you think about how much range of motion you’re missing out on by not having a rotational element to your shoulder work. It’s kind of like only ever training squats without doing deadlifts – there’s a whole range of strength there that needs to be worked on. However, please don’t try a full rotation unless you’re confident in one-arm hanging and you’ve tried it with your feet on the ground first. If you’re new to it, an easier way to build rotation strength is dumbbell shoulder rotations. If you work to make all these movements easy, your shoulders will not only be smarter, but a hell of a lot more durable and able to cope with punishment from any training program. More stability, more strength, and fewer injuries – that’s hard to
Origin: Tip: Inside-Out Shoulder Strength and Mobility
Tip: Improve Ankle Mobility Fast
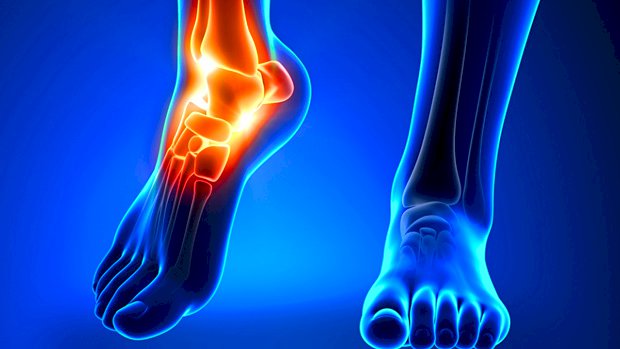 Nearly everyone has limitations moving into dorsiflexion, which is required for squatting, lunging, and deadlifting. To increase mobility, hit the calves first on lower body days before your big compound lifts. Get a nasty pump using agonist/antagonist training. Improve Ankle Mobility By using calf raises (for gastroc work) along with lying banded dorsiflexions (for tibialis anterior work), you’ll get a metabolic-stress effect. This combo will unlock the neurological tension that makes your ankles as flexible as concrete bricks. The key is to train both of these movements out of an extended range of motion into the stretched position: For calf raises, control your ankles deep into dorsiflexion, get a stretch at the bottom of each rep for a full second, then drive up explosively. For the lying banded dorsiflexions, hold each peak of contraction for a full second at the top and control the movement back down with deliberate tension. Do sets between 15-20 reps for calf raises, and between 30-50 reps for dorsiflexions with short rests between the exercises. Rest 30-45 seconds between each
Origin: Tip: Improve Ankle Mobility Fast
