 Here’s a useful way to set up a heavy band, providing both comfort and stability. Simply place a plate over the center of your band and stand on it. Compare doing this to just standing on a band and you’ll instantly feel the difference. The band will also stay closer to shoulder width throughout any exercise. Resistance bands have many uses. One is the ability to accelerate through increasing resistance. This can prime your nervous system, activate high-threshold motor units, and potentiate your whole body for a better workout. Banded single-leg RDLs are an excellent way to prepare for a heavy lower-body workout, especially if you do a few explosive reps, allowing the band to accelerate you back down. This will overload the stretch-reflex mechanism and prime your muscles for a good workout. Because single-leg RDLs done this way provide an element of stability (versus your standard single-leg deadlift) these can also be used as a teaching tool to improve single-leg stability and strength. 2. Banded Split Squat This is an excellent way to warm up your quads and get a bit of blood in there before your heavy lifts. Because of the angle of the band, there’s even greater quadriceps emphasis. As an alternative to the leg extensions and sissy squats, these can make for an excellent assistance exercise for your lower-body workouts. If you’re at home or in your Vegas penthouse suite wondering how you could do these without an Olympic-size plate, all you need is something flat and strong to place over the band. Or you could just step on the band. 3. Banded Pull-Through Cable pull-throughs are on par with 45-degree back extensions and reverse hypers for developing posterior chain strength in a manner that limits load through your spine. Loop a band around a post somewhere and boom… you’ve got yourself an effective pull-through setup. Because of the ascending resistance of the band, doing pull-throughs in this way tends to bias glute activation at the top, although you’ll get a nice stretch and a little load through your hamstrings at the bottom too. Excellent as a warm-up drill, to teach hip hinge technique, or to burn out your glutes. 4. Lateral Kneeling Hip Thrust Open up your tight adductors and wake up your sleepy glutes with these. Here you’re combining a band kneeling hip thrust with a great hip-opening drill. Throw these into your warm-ups for healthy hips and knees. They’ll also work as a high-rep booty-pumper – just don’t make eye contact. 5. Band ISO Bird-Dog A resistance band is one of the best ways to progress and load a bird-dog. So if bird-dogs are a frequent part of your training anyway, here’s how you can make them harder. You’ll be challenging the collapse of your extended arm and leg. This will help fire up everything from your hamstring to your opposing-side shoulder, and everything else in between. Bird-dogs are part of Professor Stuart McGill’s “big three” core exercises. It’s good to add them into your warm-ups, at the end of workouts, or supersetted with other exercises for long-term back health. Add a heavy band like this for a bigger
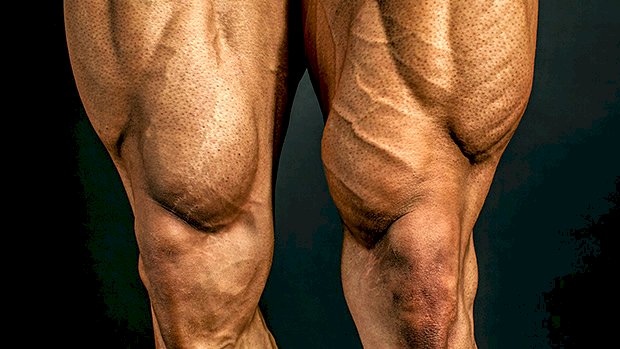
Origin: Tip: 5 Heavy Band Exercises for Legs & Glutes
Tag: Heavy
Tip: One. Heavy. Rep.
 Warming Up for a Big One Young athletes often ask me about the best way to warm-up for a 1RM test on the bench press and squat. I’ll answer that, but let me first address coaches who test the 1RM with their athletes. I’m not a big fan of this practice in a group setting. That’s just asking for an injury and bad form. Put 60 young, highly competitive men in room to compare strength and it can be a recipe for disaster. I much prefer testing for a 3-5RM. Attempt the biggest weight you can get for 3-5 reps. And use the number of reps to estimate your 1RM. This is much safer and just as accurate. Here are the percentages I use: 5 reps = 87% 4 reps = 90% 3 reps = 94% If you get 315 pounds for 5 reps you estimate your 1RM as such: 1RM = 315 x 100 / 87 1RM = 315 x 1.149 1RM = 362 pounds But I digress… Warming Up for a 1RM The progression essentially has three phases. Note that you need to have a pretty good idea of what your 1RM will be, within 10 pounds if possible. If you’ve done heavy singles it should be fairly easy to evaluate where it’ll be. If you haven’t, you can use your sets of 3-5 reps. The percentages above will give you an idea of where your 1RM will be. Normally you’ll have two or three attempts to hit your max lift during the testing. The first two phases of the preparation will take you to that first attempt. Important: Your first attempt should always be a sure thing. There’s nothing worse than failing at your first lift. In a powerlifting competition you have to use that same weight (or go up). In sports testing you can still go down. But missing the lift will kill your drive and confidence. You want a solid lift to start. We normally shoot for 94-95% of your estimated maximum for your first attempt. Although, if you have no experience with heavy singles you might want to use 90% of your estimated max for your first attempt. Here’s the first phase of the lift warm-up: (The first two sections are adapted from Charles Poliquin’s progression.) Set 1:Empty bar x 10 reps Set 2:4 reps using estimated 40%, rest 10 seconds Set 3:4 reps using estimated 40%, rest 30 seconds Set 4:3 reps using estimated 60%, rest 30 seconds That was the low-stress phase. On those 5 reps, your focus should be on exaggerating tightness and acceleration. Focus on patterning perfect technique. Do NOT do these easier sets nonchalantly; respect the bar and use these sets to get into the perfect groove. Then continue with… Set 5:2 reps using estimated 75%, rest 60 seconds Set 6:1 rep using estimated 80%, rest 120 seconds Set 7:1 rep using estimated 85%, rest 120 seconds Set 8:1 rep using estimated 90%, rest 180 seconds The goal is to get the feeling of heavier weights and amp up the nervous system, but also estimate your performance capacity at that moment. For instance, if 90% felt like a ton, you might need to be conservative with your attempts. If it felt like nothing, you might be able to adjust your starting attempt to 98% and then go for 103% or even 105%. Then move on to… Set 9:Un-rack 105-110% of your maximum, walk-it out (if it’s a squat) and hold for 6 seconds. Then rest 180 seconds (to potentiate the nervous system and give you a psychological boost). Set 10 (opening attempt):1 rep using estimated 95%, rest 240 seconds Set 11* (second attempt):1 rep using estimated 100%, rest 240 seconds Set 12* (third attempt, if you have one):1 rep using estimated 105% * Note that sets 11 and 12 can be adjusted depending on
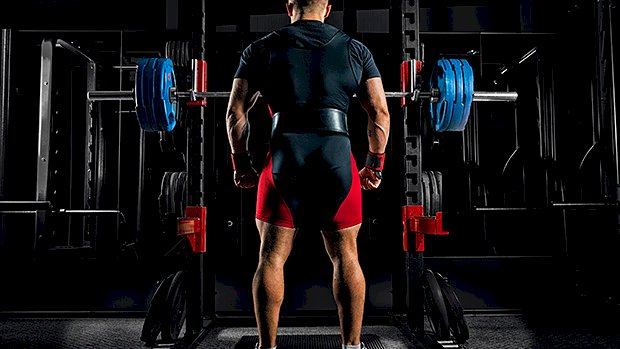
Origin: Tip: One. Heavy. Rep.
Tip: Go Heavy to Retain Muscle
 Keep Lifting Heavy While Getting Shredded You’ve been training hard and heavy on basic movements while trying to gain as much muscle as possible. Now that you’re on a diet you must give your body a reason to hold on to this new muscle tissue. High-intensity strength exercises (in the 70-100% range) are better than low-intensity strength exercises (in the 40-70% range) while dieting. The higher training loads help you preserve strength and muscle while on a reduced calorie diet much better than super-high volume/low-intensity workouts. Believe it or not, the human body is more interested in survival than being a hulking hunk of manhood (or a chiseled Wonder Woman). So energy reserves such as body fat are more precious than muscle tissue since the latter actually consumes energy. When calories are dropped, we enter a survival mode and the energy-costly muscle mass goes away – it’s broken down into amino acids and then transformed into glucose for energy. To keep your muscle mass, you must give the body a reason to do so. Will lifting light weights do it? No. You need to continue to lift heavy, otherwise some muscle will go to waste! You’ve Been Lied to We’ve been brainwashed by the muscle magazines to believe that you should do high-rep training for definition. This is absolutely ridiculous! Sure, you use a little more energy during your workout, but think about it: the higher the training volume you perform, the more energy you need to recover from your workout. The more glycogen you burn while strength training, the more carbs you’ll need to recover and progress. If you’re on any kind of cutting diet, chances are that you’ve lowered your carb intake quite a bit. So you need more carbs, but you’re actually giving less to your body! Furthermore, while on a hypocaloric diet your body has a lowered anabolic drive, meaning that it can’t synthesize as much protein into muscle as it does when you’re eating a ton. A super-high volume of work leads to a lot of microtrauma to the muscle structures. A lot of microtrauma requires a great protein synthesis increase, which your body can’t do at this point. So if you use high-volume/low-intensity training while dieting, you’ll break down more muscle and build up less. Not exactly good news. Perhaps one of the greatest benefits of high-rep training is an increase in blood and nutrient flow to the muscles, but if you have a reduced amount of nutrients available in your body, this benefit is pretty much wasted. Repeat after me: I will use my diet and cardio/metcon work to stimulate fat loss. I will use strength training to maintain or gain muscle. That’s the bottom
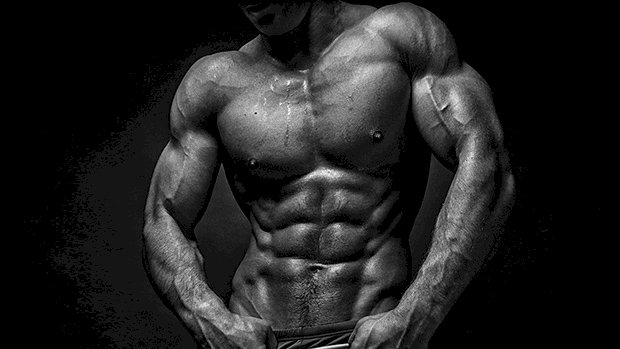
Origin: Tip: Go Heavy to Retain Muscle
Tip: Do This Before Heavy Squats
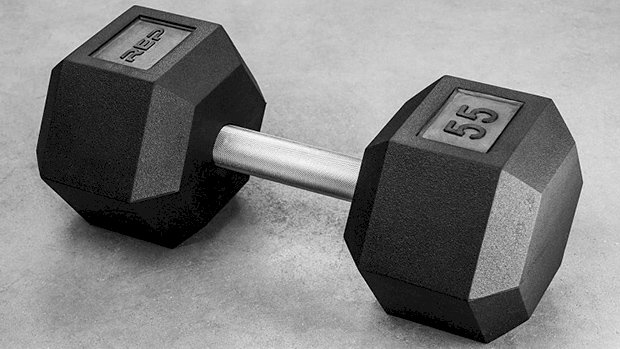 This exercise fires up the CNS and recruits a ton of muscle fibers. It’s a great primer exercise that’ll prepare any lifter for a big squat session. The Goblet Jump Squat The most common types of jump squats come with their own set of problems that you won’t have with this version: The barbell jump squat often results in compromised mechanics because of the bar that lands on the spine, which can cause the knees to cave at the bottom of the rep. Even landing properly with a barbell on your back leads to unnecessary stress with each jump. Holding the dumbbells by your side is the most common dumbbell squat jump but it comes with some problems. When you hold the dumbbells by your sides you end up internally rotating your legs to provide room for the dumbbells. Then the knees cave in slightly at the bottom of each rep. This becomes an even bigger issue as you progress to heavier (larger) dumbbells. The Goblet Jump Squat is Better You could load goblet jump squats with any size dumbbell without compromising your mechanics. The front-loading also takes stress off the spine. Weighted jumps are crucial for explosive athletes. Try 3 sets of 5 before your next leg
Origin: Tip: Do This Before Heavy Squats
